How to use Custom Field in BlogEngine?
If you are new to Blogengine and want to know how to set up blogengine for your new website check here.
After setting up our blog site using BlogEngine people stuck on how to use custom fields. They have doubts like can we do all the changes from the admin side itself or do we need to make code change and publish the files again.
This article will help you get a clear idea of how to use custom fields in the BlogEngine admin panel.
There are two ways you can add custom fields.
- Custom Fields for a Profile
- Custom Fields for a Post
Custom Field for a Profile
To add a custom field for a Profile User we have to enable the multiuser option in the web.config file. In web.config file go to appsettings in the XML tag and change the default value of BlogEngine.UsageScenerio from singleblog to multiusers. The three usage scenarios are also commented just above the key field setting.

After saving the web.config file, login to the admin panel by navigating to www.yourdomain.com/admin. Go to the profile section under the menu Users.
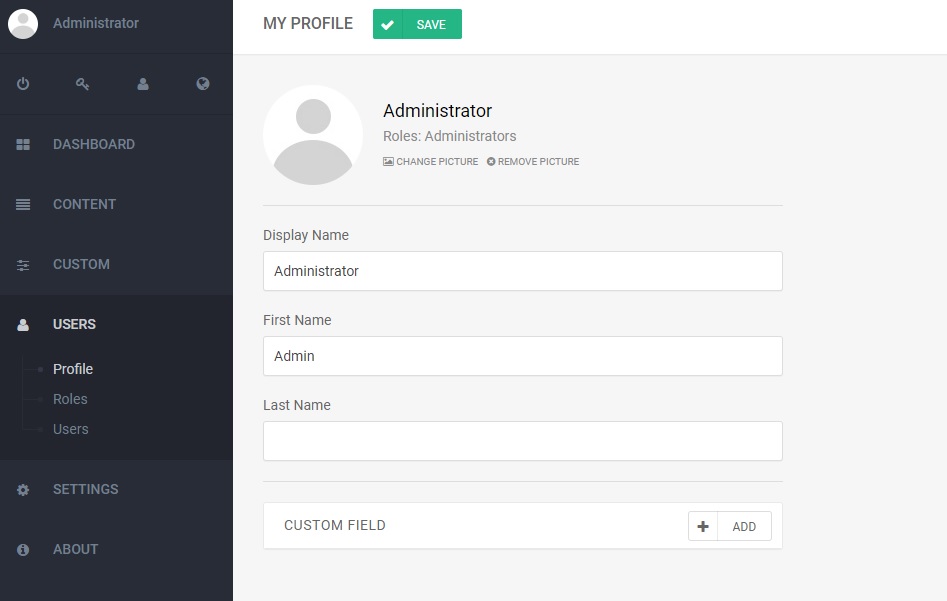
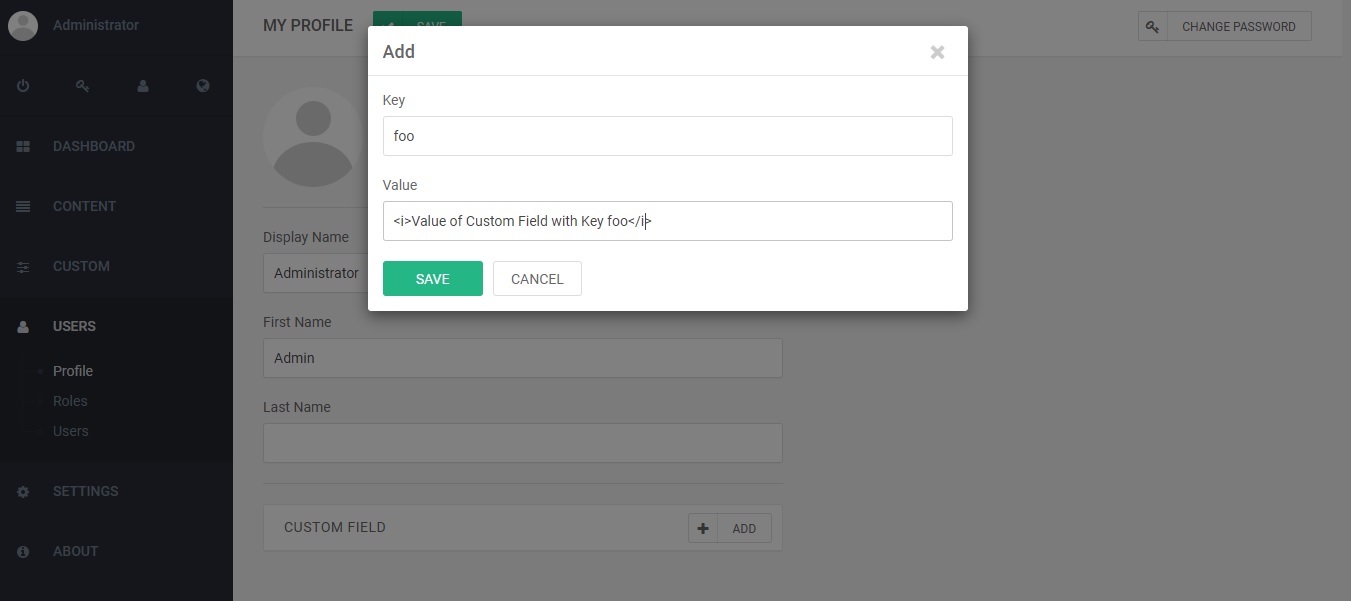
Now Click the Custom Field add button, a popup opens and there we can enter a unique key and value. The value can be a string or HTML. What the custom fields do is, when we use this key in some places of the page the value in the Value field will be shown.
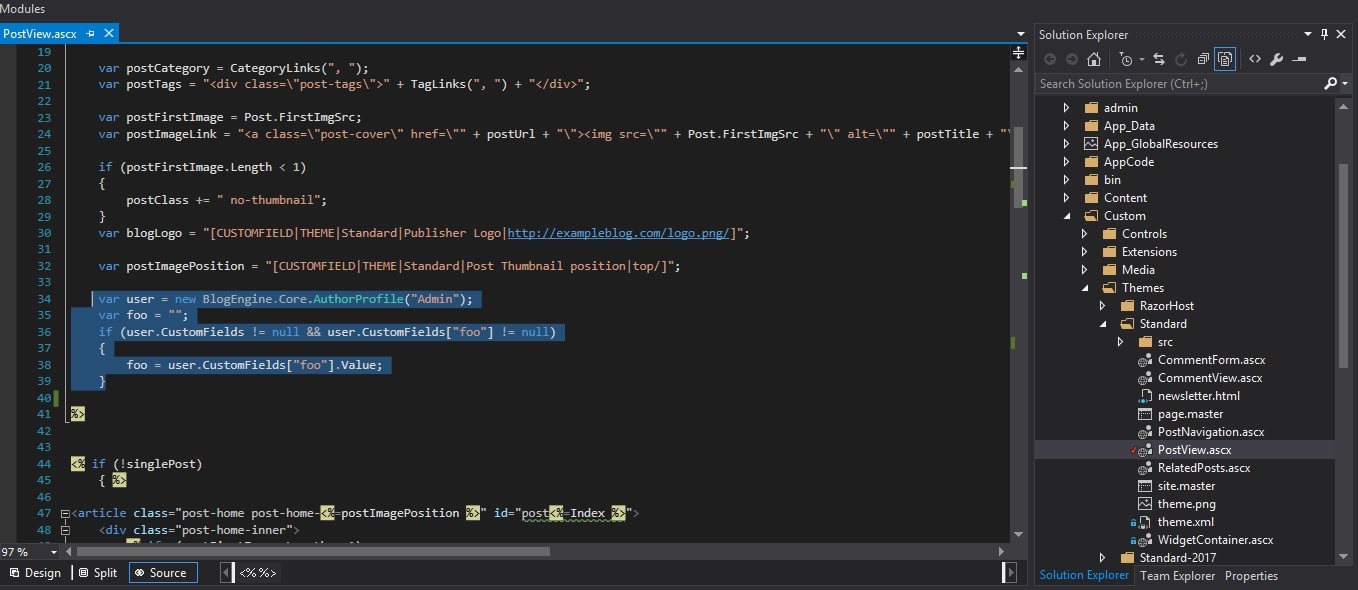
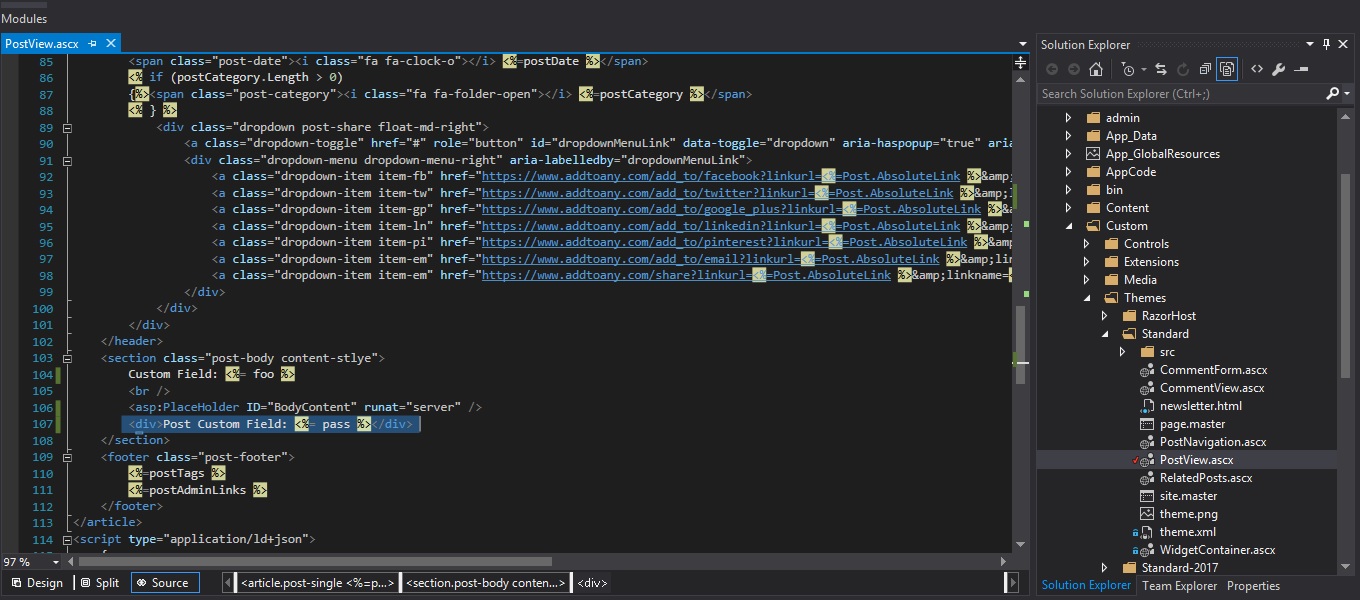
To be able to make the Custom field visible we have to add some jquery mark up in the postview.ascx file.The file location is <root folder>/Custom/Themes/Standard/PostView.ascx . You have to open the file using a text editor like notepad or notepad++ or Visual Studio editor etc. The place and the content of the mark up to be added are shown below.
1
2
3
4
5
6
var user = new BlogEngine.Core.AuthorProfile("Admin");
var foo = "";
if (user.CustomFields != null && user.CustomFields["foo"] != null)
{
foo = user.CustomFields["foo"].Value;
}
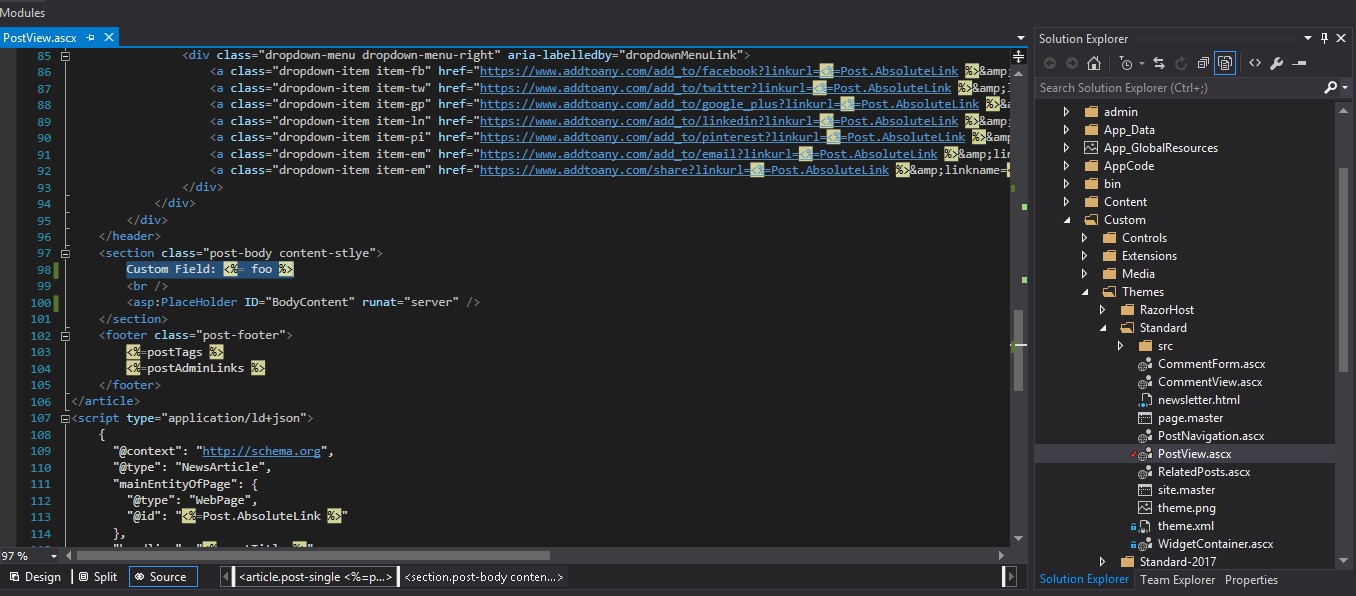
Custom Field: <%= foo %>
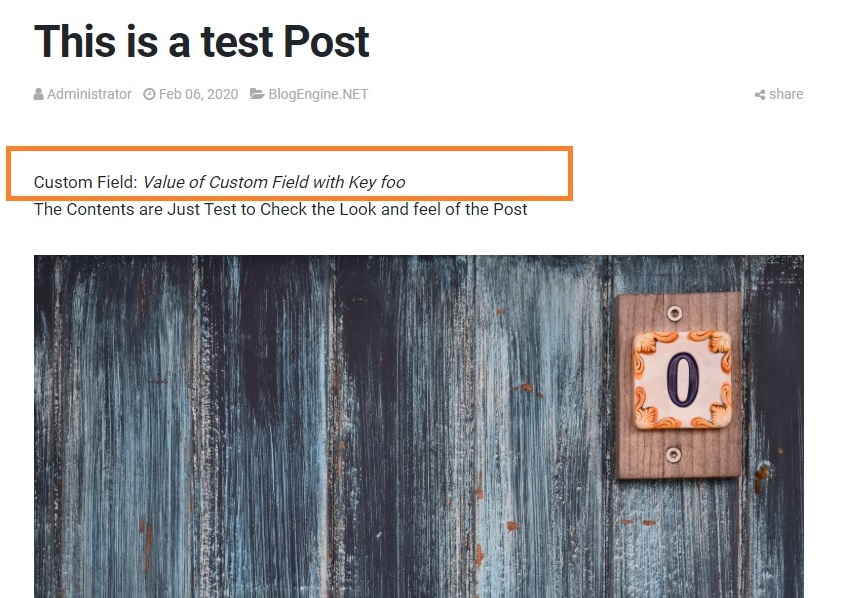
In the figure above you can see I have placed the custom field to show up just above the Body content.
Now you can see that our custom HTML will show up in all postview pages just above the post content as you can see in the below figure.
Custom Field for a Post
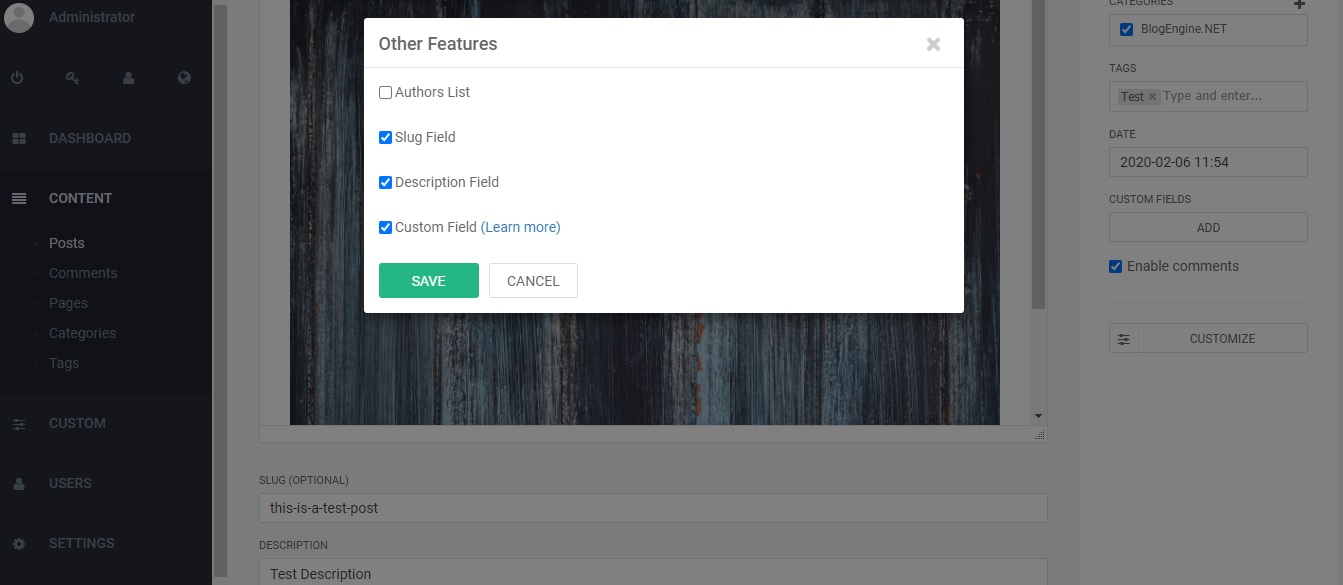
Take the post in which you are going to add the custom field then click on the customize link and enable the Customfield checkbox.
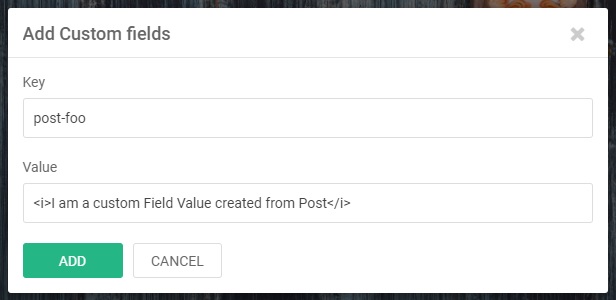
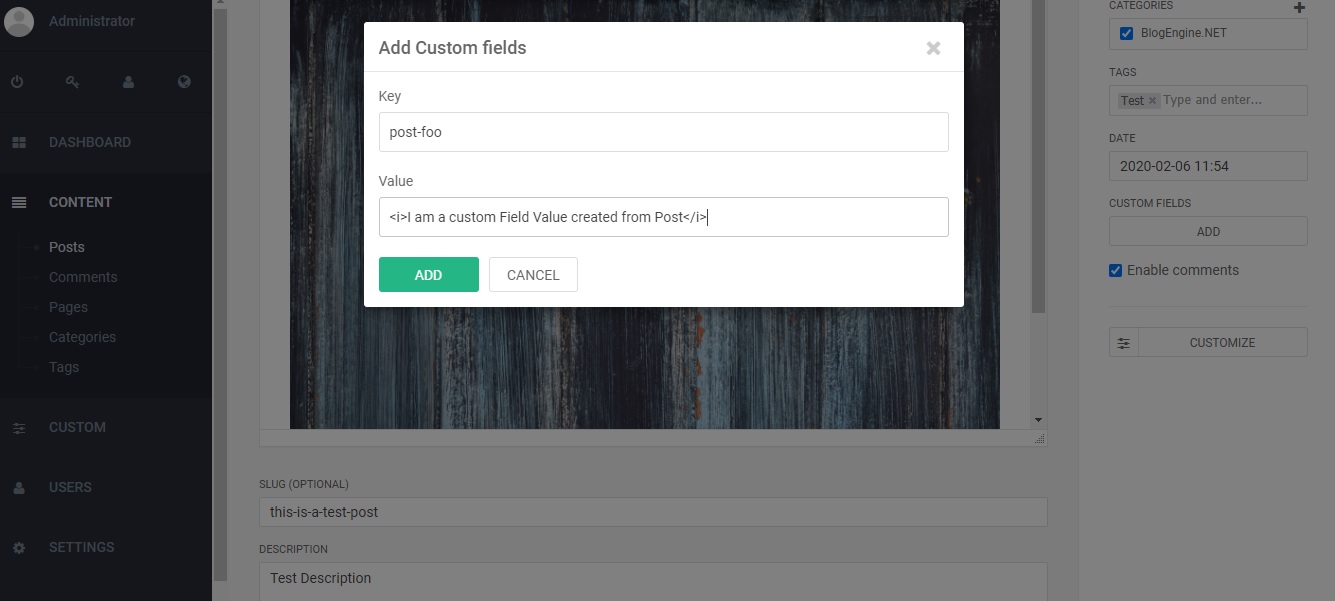
On the right side, a new field to add Custom Fields will be visible. Now click on the link and add the custom field in the same way as you have done for the User-specific custom field.
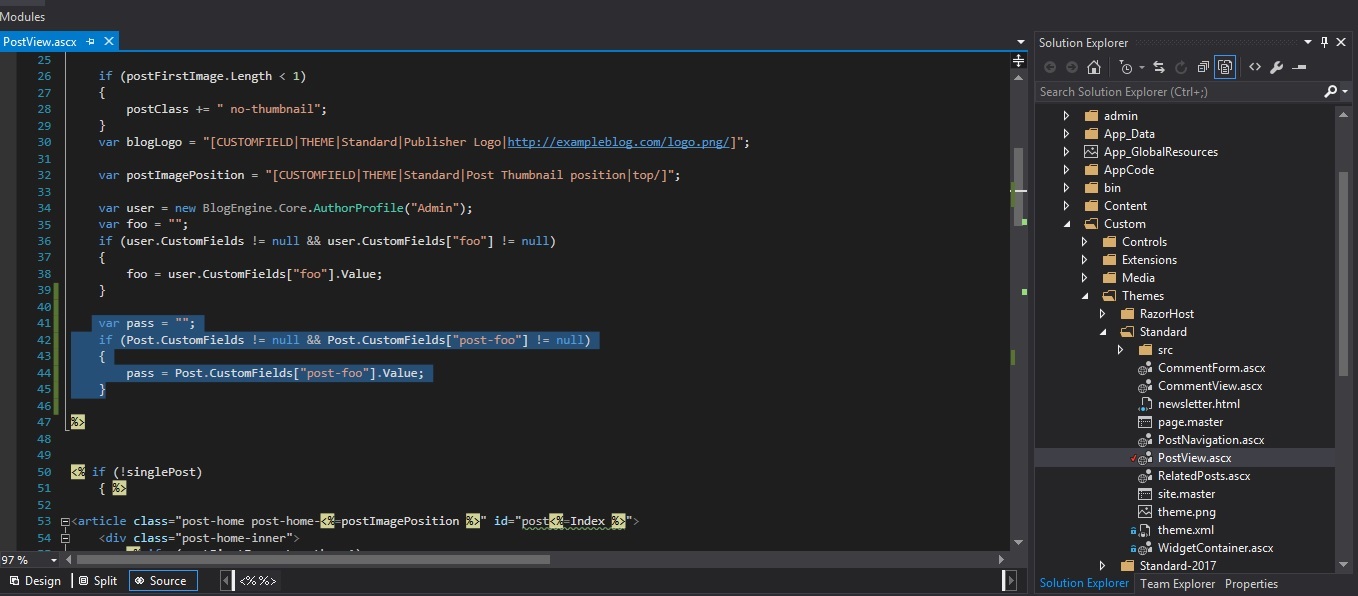
Now we have to add the mark up in the postview.ascx.The content to add and the screenshots are below.
1
2
3
4
5
var pass = "";
   if (Post.CustomFields != null && Post.CustomFields["post-foo"] != null)
   {
       pass = Post.CustomFields["post-foo"].Value;
   }
<div>Post Custom Field: <%= pass %></div>
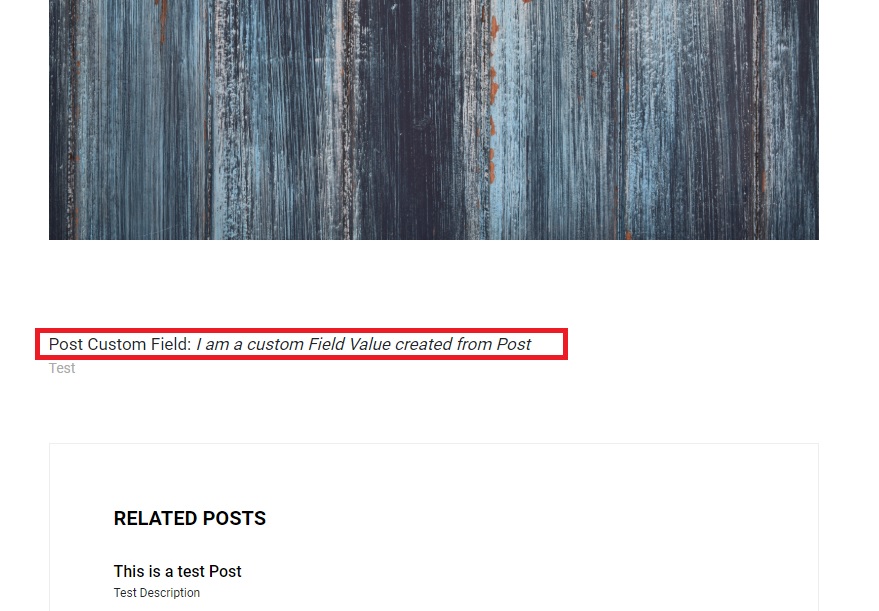
Since we have added the custom field below the post content it will be shown accordingly in the UI.
Hope everyone got a clear idea of how to add custom fields in BlogEngine. Custom fields are very powerful data structures .you can add more functionalities and extend the design of the pages using it.
Please refer to the BlogEngine page for custom field explanation.
