Building your first angular app
For anyone needing a refresher, check out this post for installing Angular CLI.
Now that Angular CLI is installed, it’s time to create your first Angular application—a simple “Hello, World!” project.
Steps in building your first angular app
Creating a New Angular Project
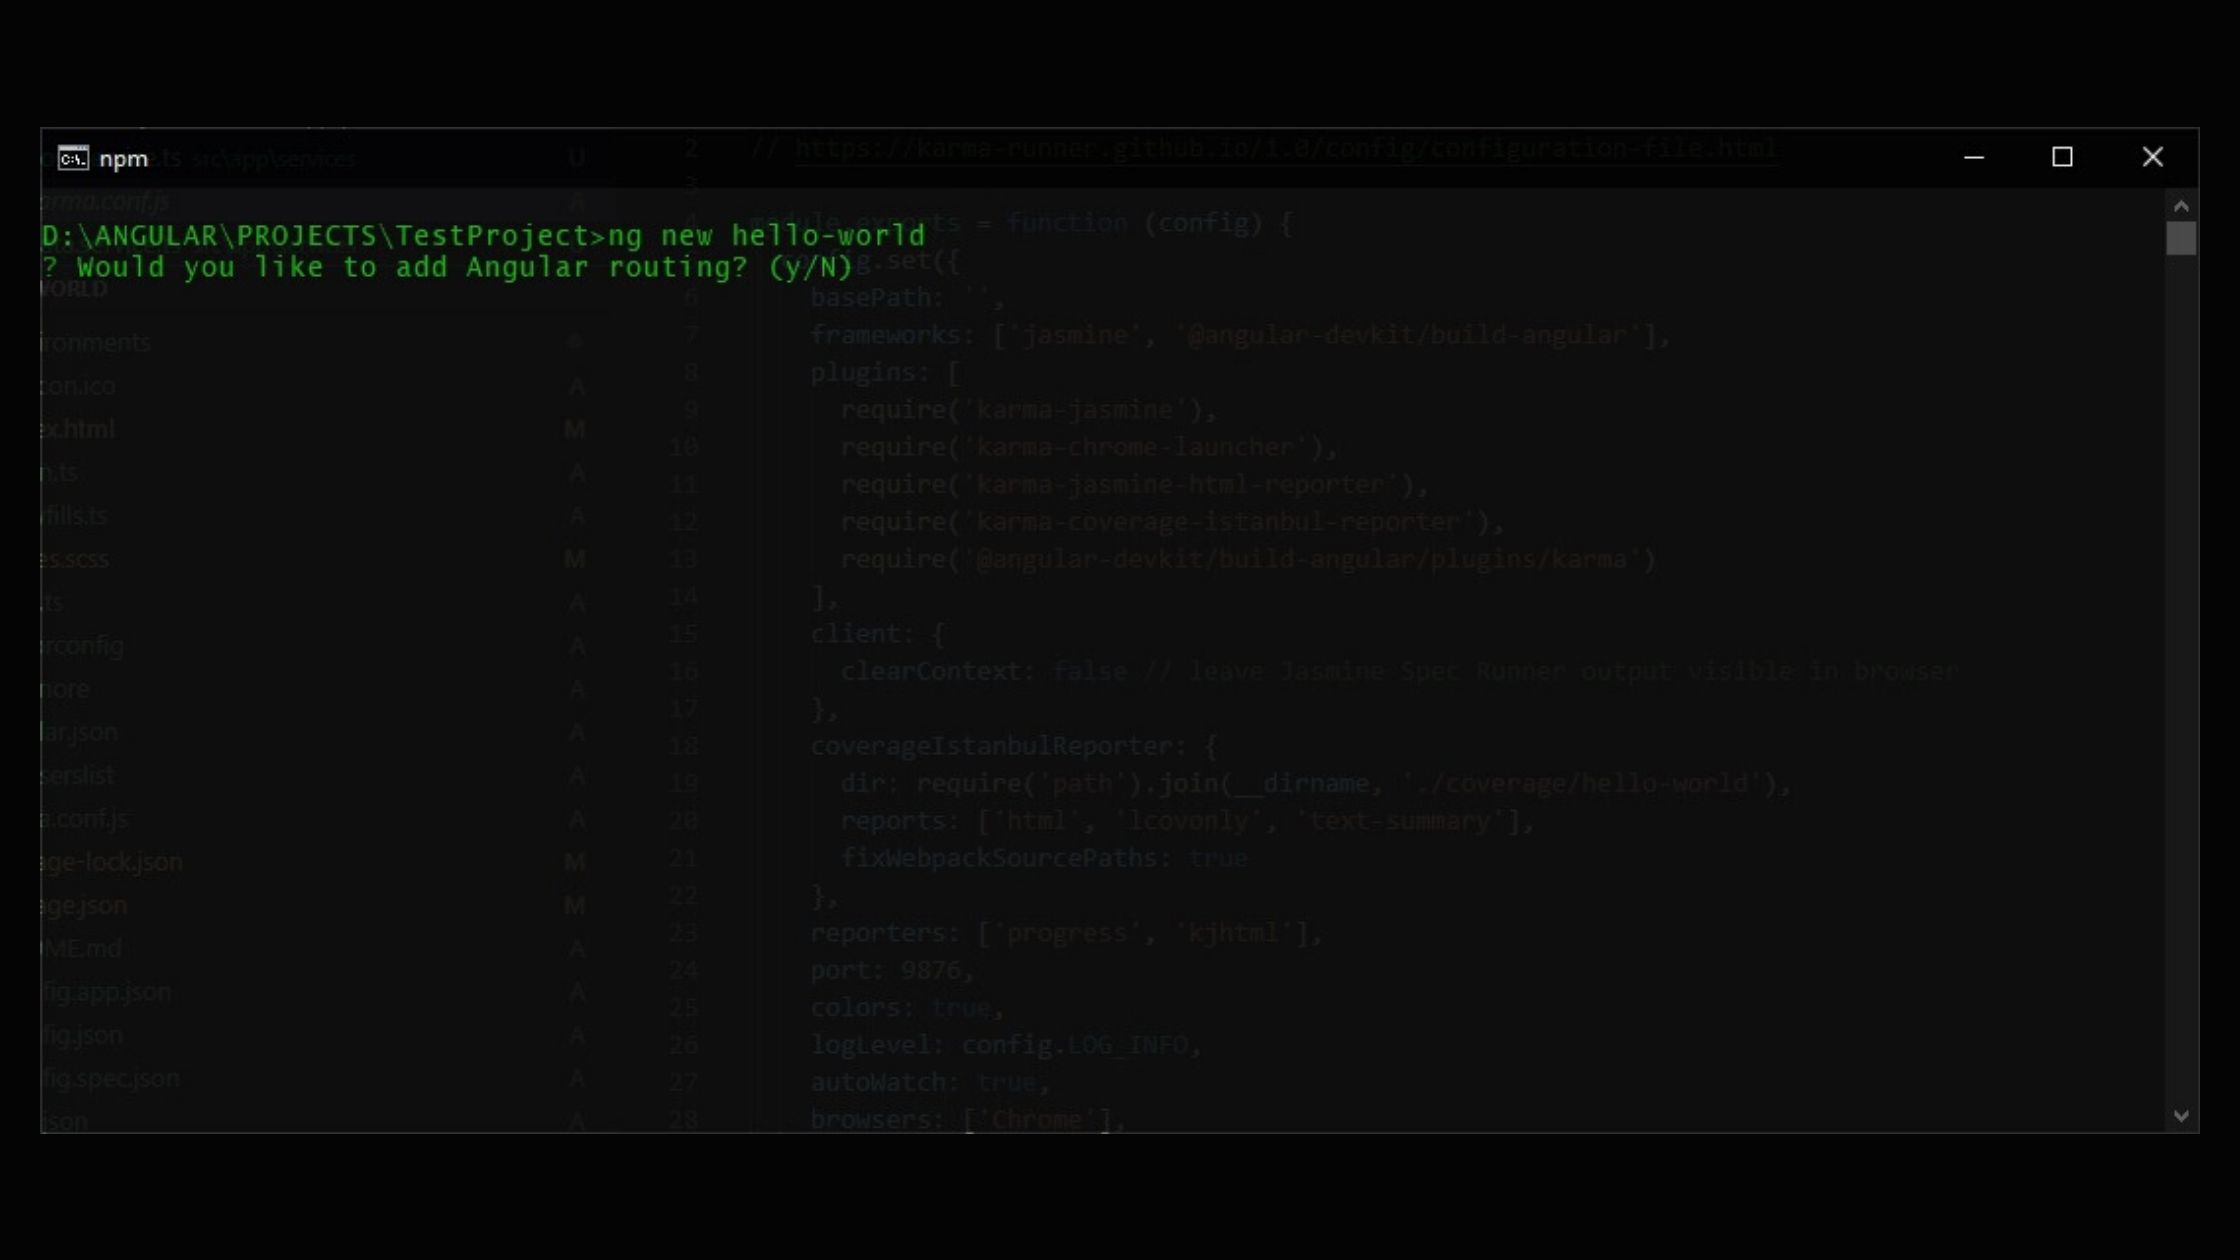
Open your terminal or command prompt and run: ng new hello-world
You’ll be prompted to:
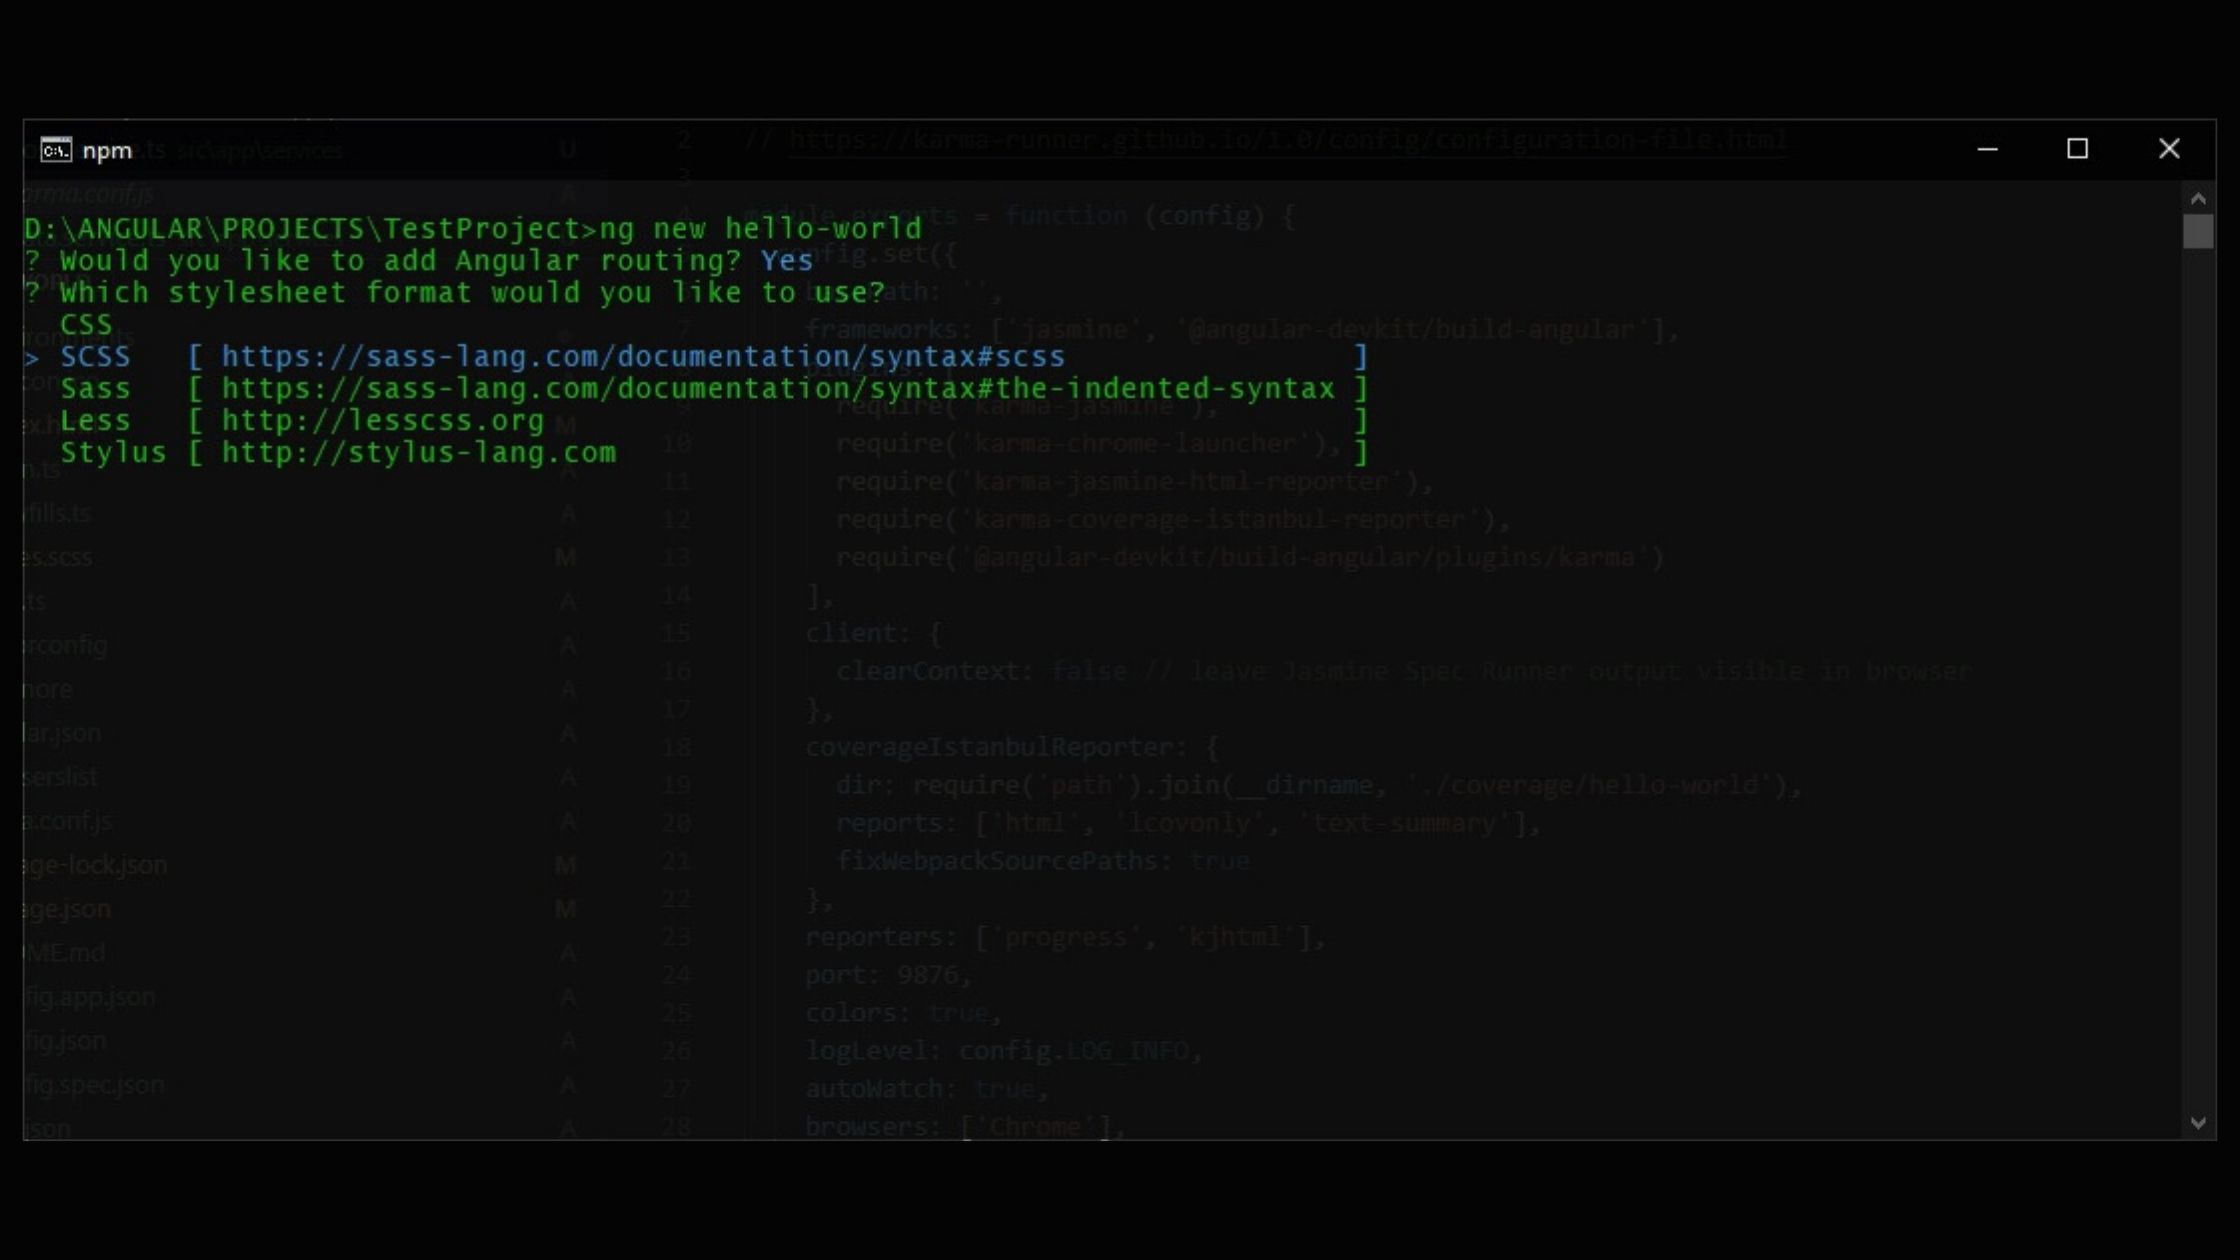
- Choose whether to add Angular routing (
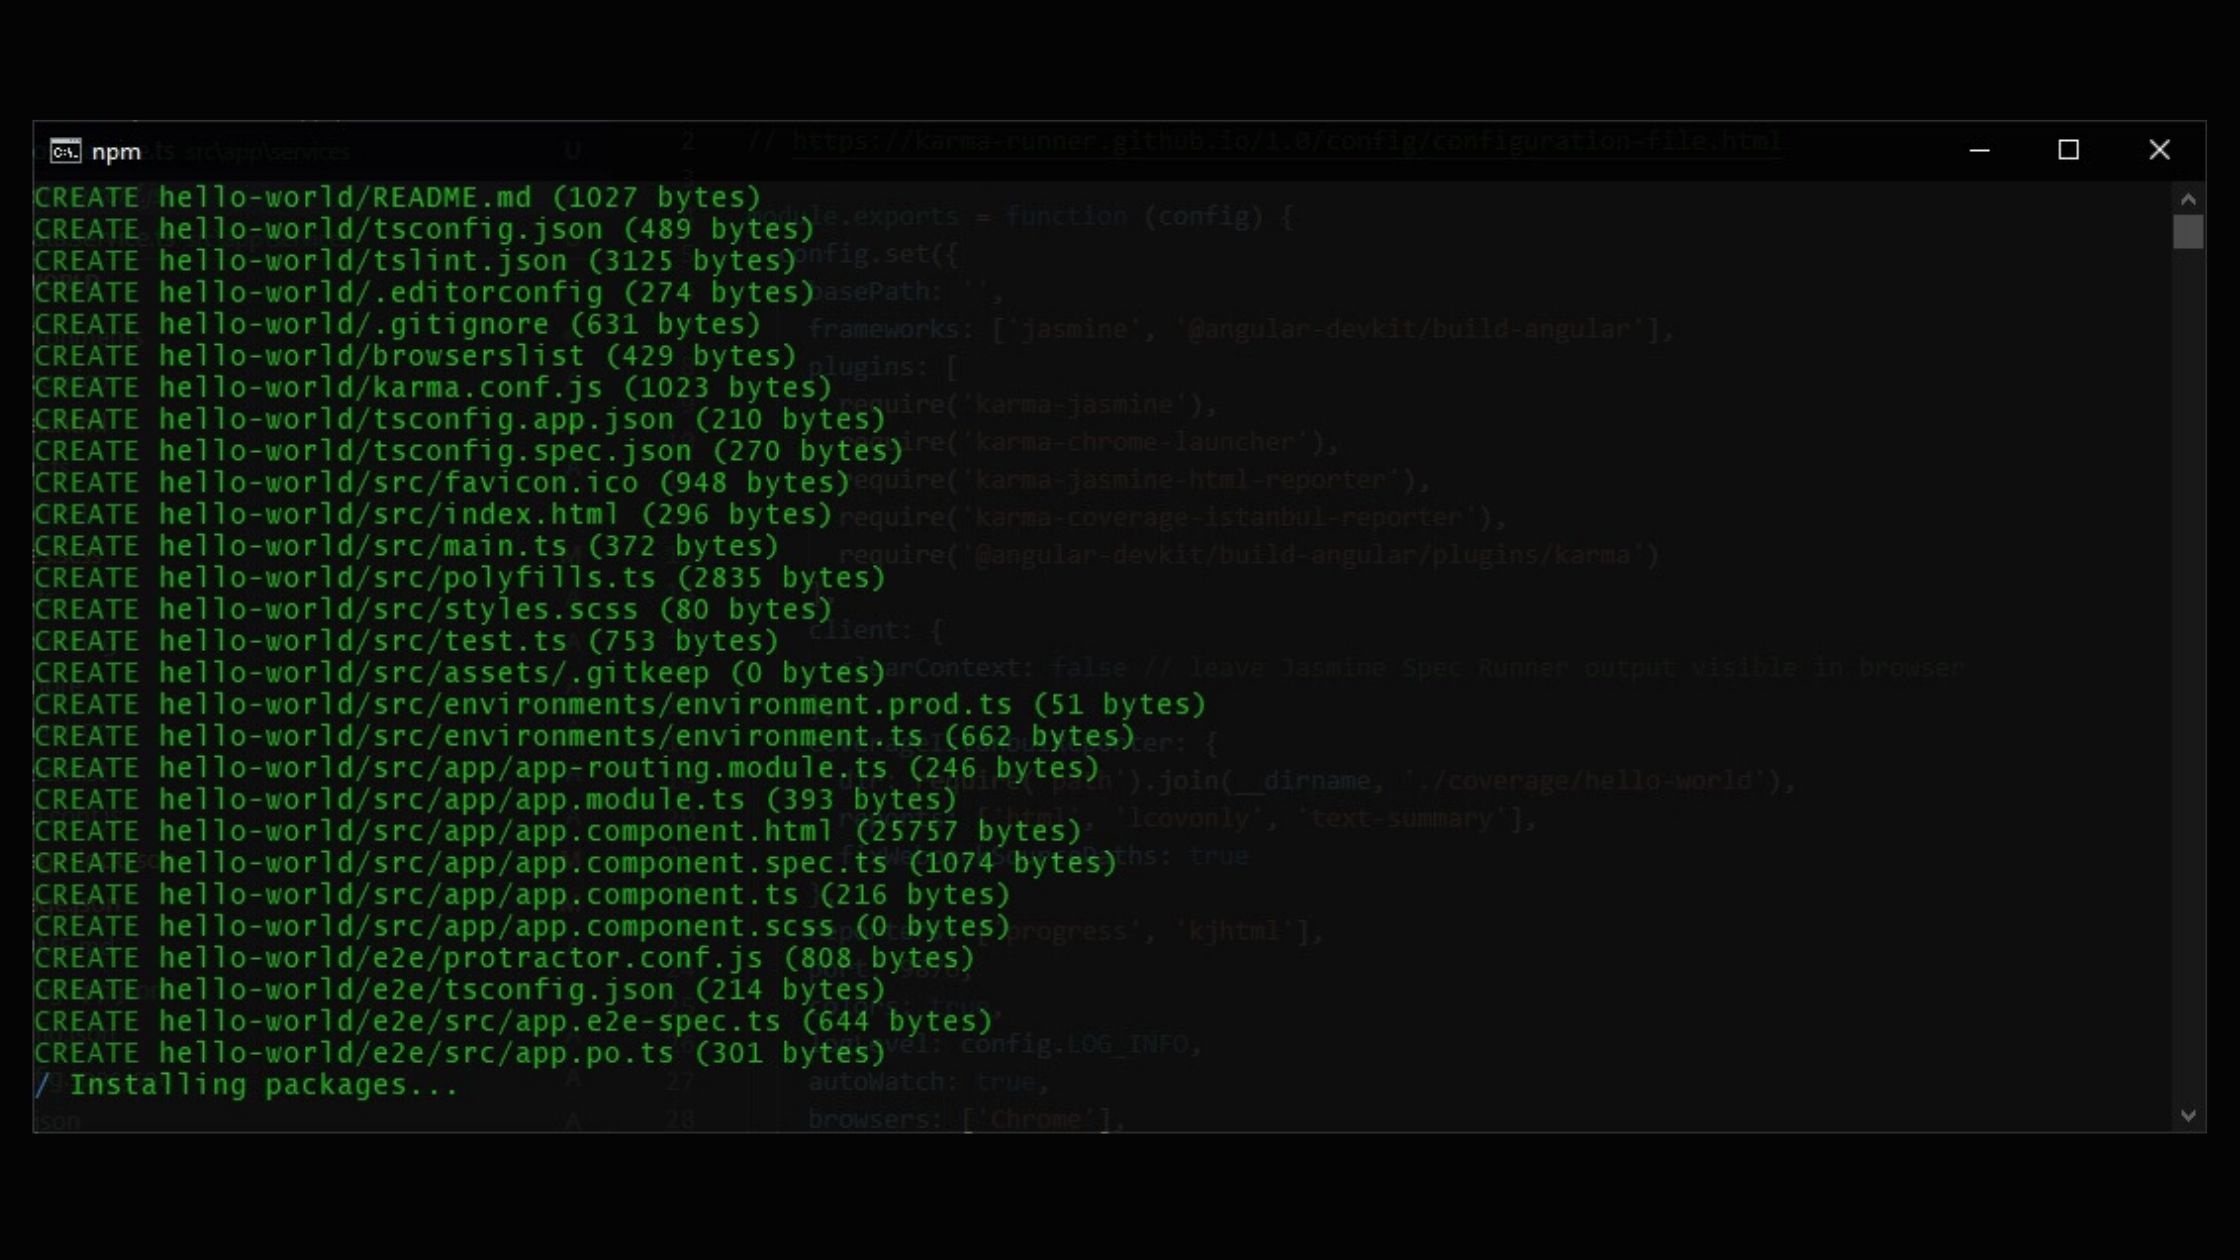
YesorNo). - Select the style format (CSS, SCSS, LESS, etc.). Once you’ve made your selections, the CLI scaffolds the project structure.
Navigate into the project directory:
cd hello-world
Running the Application
Now, let’s fire up the local development server ng serve
Once the server is running, open your browser and visit:
http://localhost:4200
You’ll see the default Angular welcome page!
Editing the Hello World Component
Modify the default template to display “Hello, World!”:
- Open
src/app/app.component.html - Replace the existing content with:
<h1>Hello, World!</h1>
Save the file, and your browser will auto-refresh to reflect the changes
Enhancing the Project: Adding a Simple Contact Form
Let’s level up our project by creating a contact form that submits data to an API.
Creating the Contact Form Component
Generate a new component for the contact form:
ng generate component contact-form
This creates a contact-form directory inside src/app.
Designing the Contact Form
Open src/app/contact-form/contact-form.component.html and add:
1
2
3
4
5
6
7
8
9
10
11
<form #contactForm="ngForm" (ngSubmit)="submitForm(contactForm)">
  <label>Name:</label>
  <input type="text" name="name" ngModel required />

  <label>Email:</label>
  <input type="email" name="email" ngModel required />

  <button type="submit">Submit</button>
</form>

<p *ngIf="responseMessage"></p>
Handling Form Submission
In src/app/contact-form/contact-form.component.ts, import HttpClient and set up form submission:
1
2
3
4
5
6
7
8
9
10
11
12
13
14
15
16
17
18
19
20
21
import { Component } from '@angular/core';
import { HttpClient } from '@angular/common/http';

@Component({
  selector: 'app-contact-form',
  templateUrl: './contact-form.component.html',
})
export class ContactFormComponent {
  responseMessage = '';

  constructor(private http: HttpClient) {}

  submitForm(contactForm: any) {
    if (contactForm.valid) {
      this.http.post('https://jsonplaceholder.typicode.com/posts', contactForm.value)
        .subscribe(response => {
          this.responseMessage = 'Form submitted successfully!';
        });
    }
  }
}
Note that we are using https://jsonplaceholder.typicode.com/posts fake end point to submit the data for testing.
Displaying the Contact Form
Go to src/app/app.component.html and include the new component:
<app-contact-form></app-contact-form>
Run ng serve, and test the form. Enter some data, submit it, and see the success message!
Troubleshooting Common Issues
Here are some possible hiccups and how to fix them:
❌ Error: Angular CLI is not recognized
Solution: Ensure Node.js and Angular CLI are installed correctly. Run:
npm install -g @angular/cli
❌ Error: Module ‘HttpClient’ not found
Solution: Import HttpClientModule in src/app/app.module.ts:
1
2
3
4
5
import { HttpClientModule } from '@angular/common/http';

@NgModule({
  imports: [HttpClientModule],
})
❌ Form submission doesn’t work
Solution: Make sure you’ve enabled FormsModule in app.module.ts:
1
2
3
4
5
import { FormsModule } from '@angular/forms';

@NgModule({
  imports: [FormsModule],
})
Final Thoughts
And there you have it—a complete journey from setting up Angular to creating a functional contact form!
Feel free to explore the GitHub repository for a complete example. Happy coding!
